Do It Yourself – Concrete Solutions

Do It Yourself – Concrete Solutions

Concrete Repair Made Easy – This Kit Is So User-Friendly, Even Grandma Can Do It!

Can I Do This On My Own?

Absolutely! We will provide you with a step-by-step instructions. Full support from our staff if you have questions.

How Much Do I Need?

Fillout the contact form with the size of your project and we will get you a quote.

Square Ft Calculator

Length

Width


Total

No. of Kits Needed

**Please round up to the next highest number (no partial kits)

Kit 1 – covers 45 sq. ft.

Based on 1/16″ or 1/8″ thickness

Our DIY kit allows you to provide beautiful accents to your home or office, while at the same time being versatile and durable enough to stand up to severe conditions in commercial environments.

• 2000 PSI stronger than normal concrete.
• Possibilities to be stamped and molded.
• Fraction of the cost of conventional materials.

CAUTION: AVOID PROLONGED OR REPEATED SKIN CONTACT. AVOID CONTRACT WITH EYES AVOID BREATHING VAPOR. WASH HANDS THORUGHLY AFTER HANDLING AND BEFORE EATING OR DRINKING. USE WITH ADEQUATE VENTILATION.

Before
After

• Repair

• Resurface

• Strengthen

• Protect

• Beautifies

Under 45 square feet
Net Weight: 8 OZ / 236 mL

Application Instructions

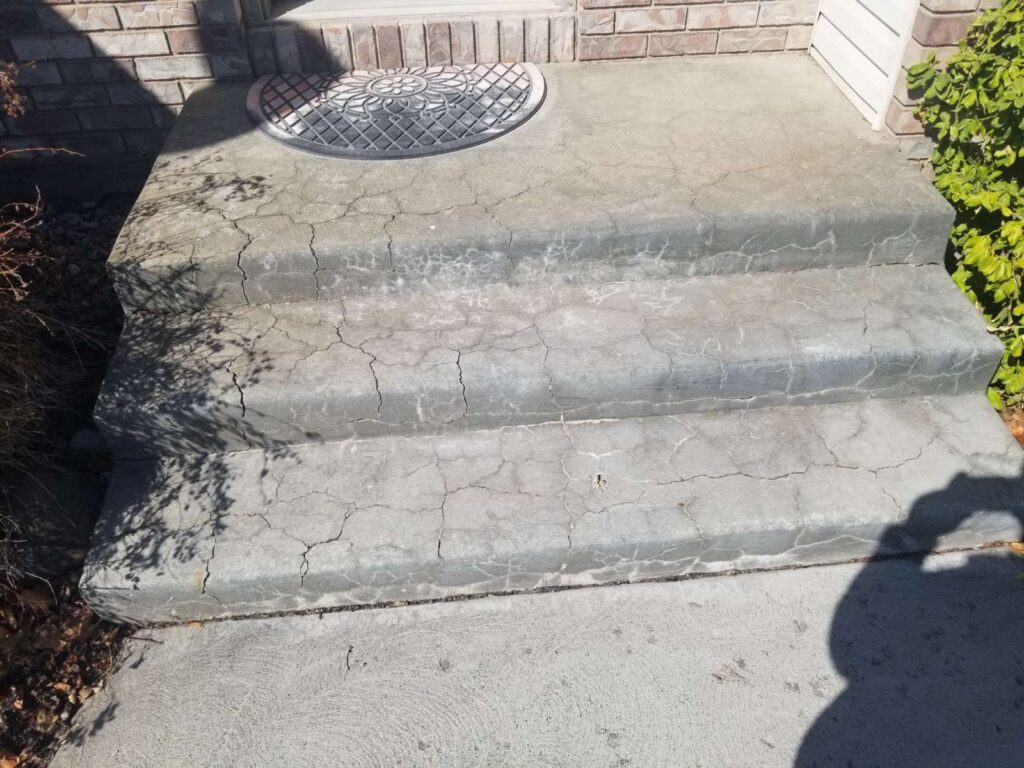
1. Once you have verified that you have all the required tools & materials, thoroughly clean the area that you are working on. For best results a pressure washer is suggested, or you can use a degreaser type soap and scrub brush rinsing thoroughly afterwards. This will not only remove surface contaminants like dirt, glue, and old paint, but in the case of repairs it will also remove any remaining loose material on the damaged surface. NOTE: This step is essential in order to ensure new concrete is able to bond to original concrete.

2. When the work area is prepped, set up your mixing area. You will need to set up somewhere that accidental spills will not be a problem and that you have ready access to water hose. Attach your drill to the shaft of the mixing paddle and set this assembly aside.

3. Take the masking or painter’s tape and tape off items in the target area that you do not want to get concrete on. Make sure it is on well, we do not want seepage underneath the tape. Also remove any other objects from the work area, and remove weeds and edge grass surrounding the area.

4. Fill the half-gallon container with water and add it to the mixing bucket.

5. Add one (1) 8 oz bag of the “Better Than New” additive to the mixing bucket. Pour a small amount of this solution into a small container. It will be used to touch up imperfections as you go using the paint brush.

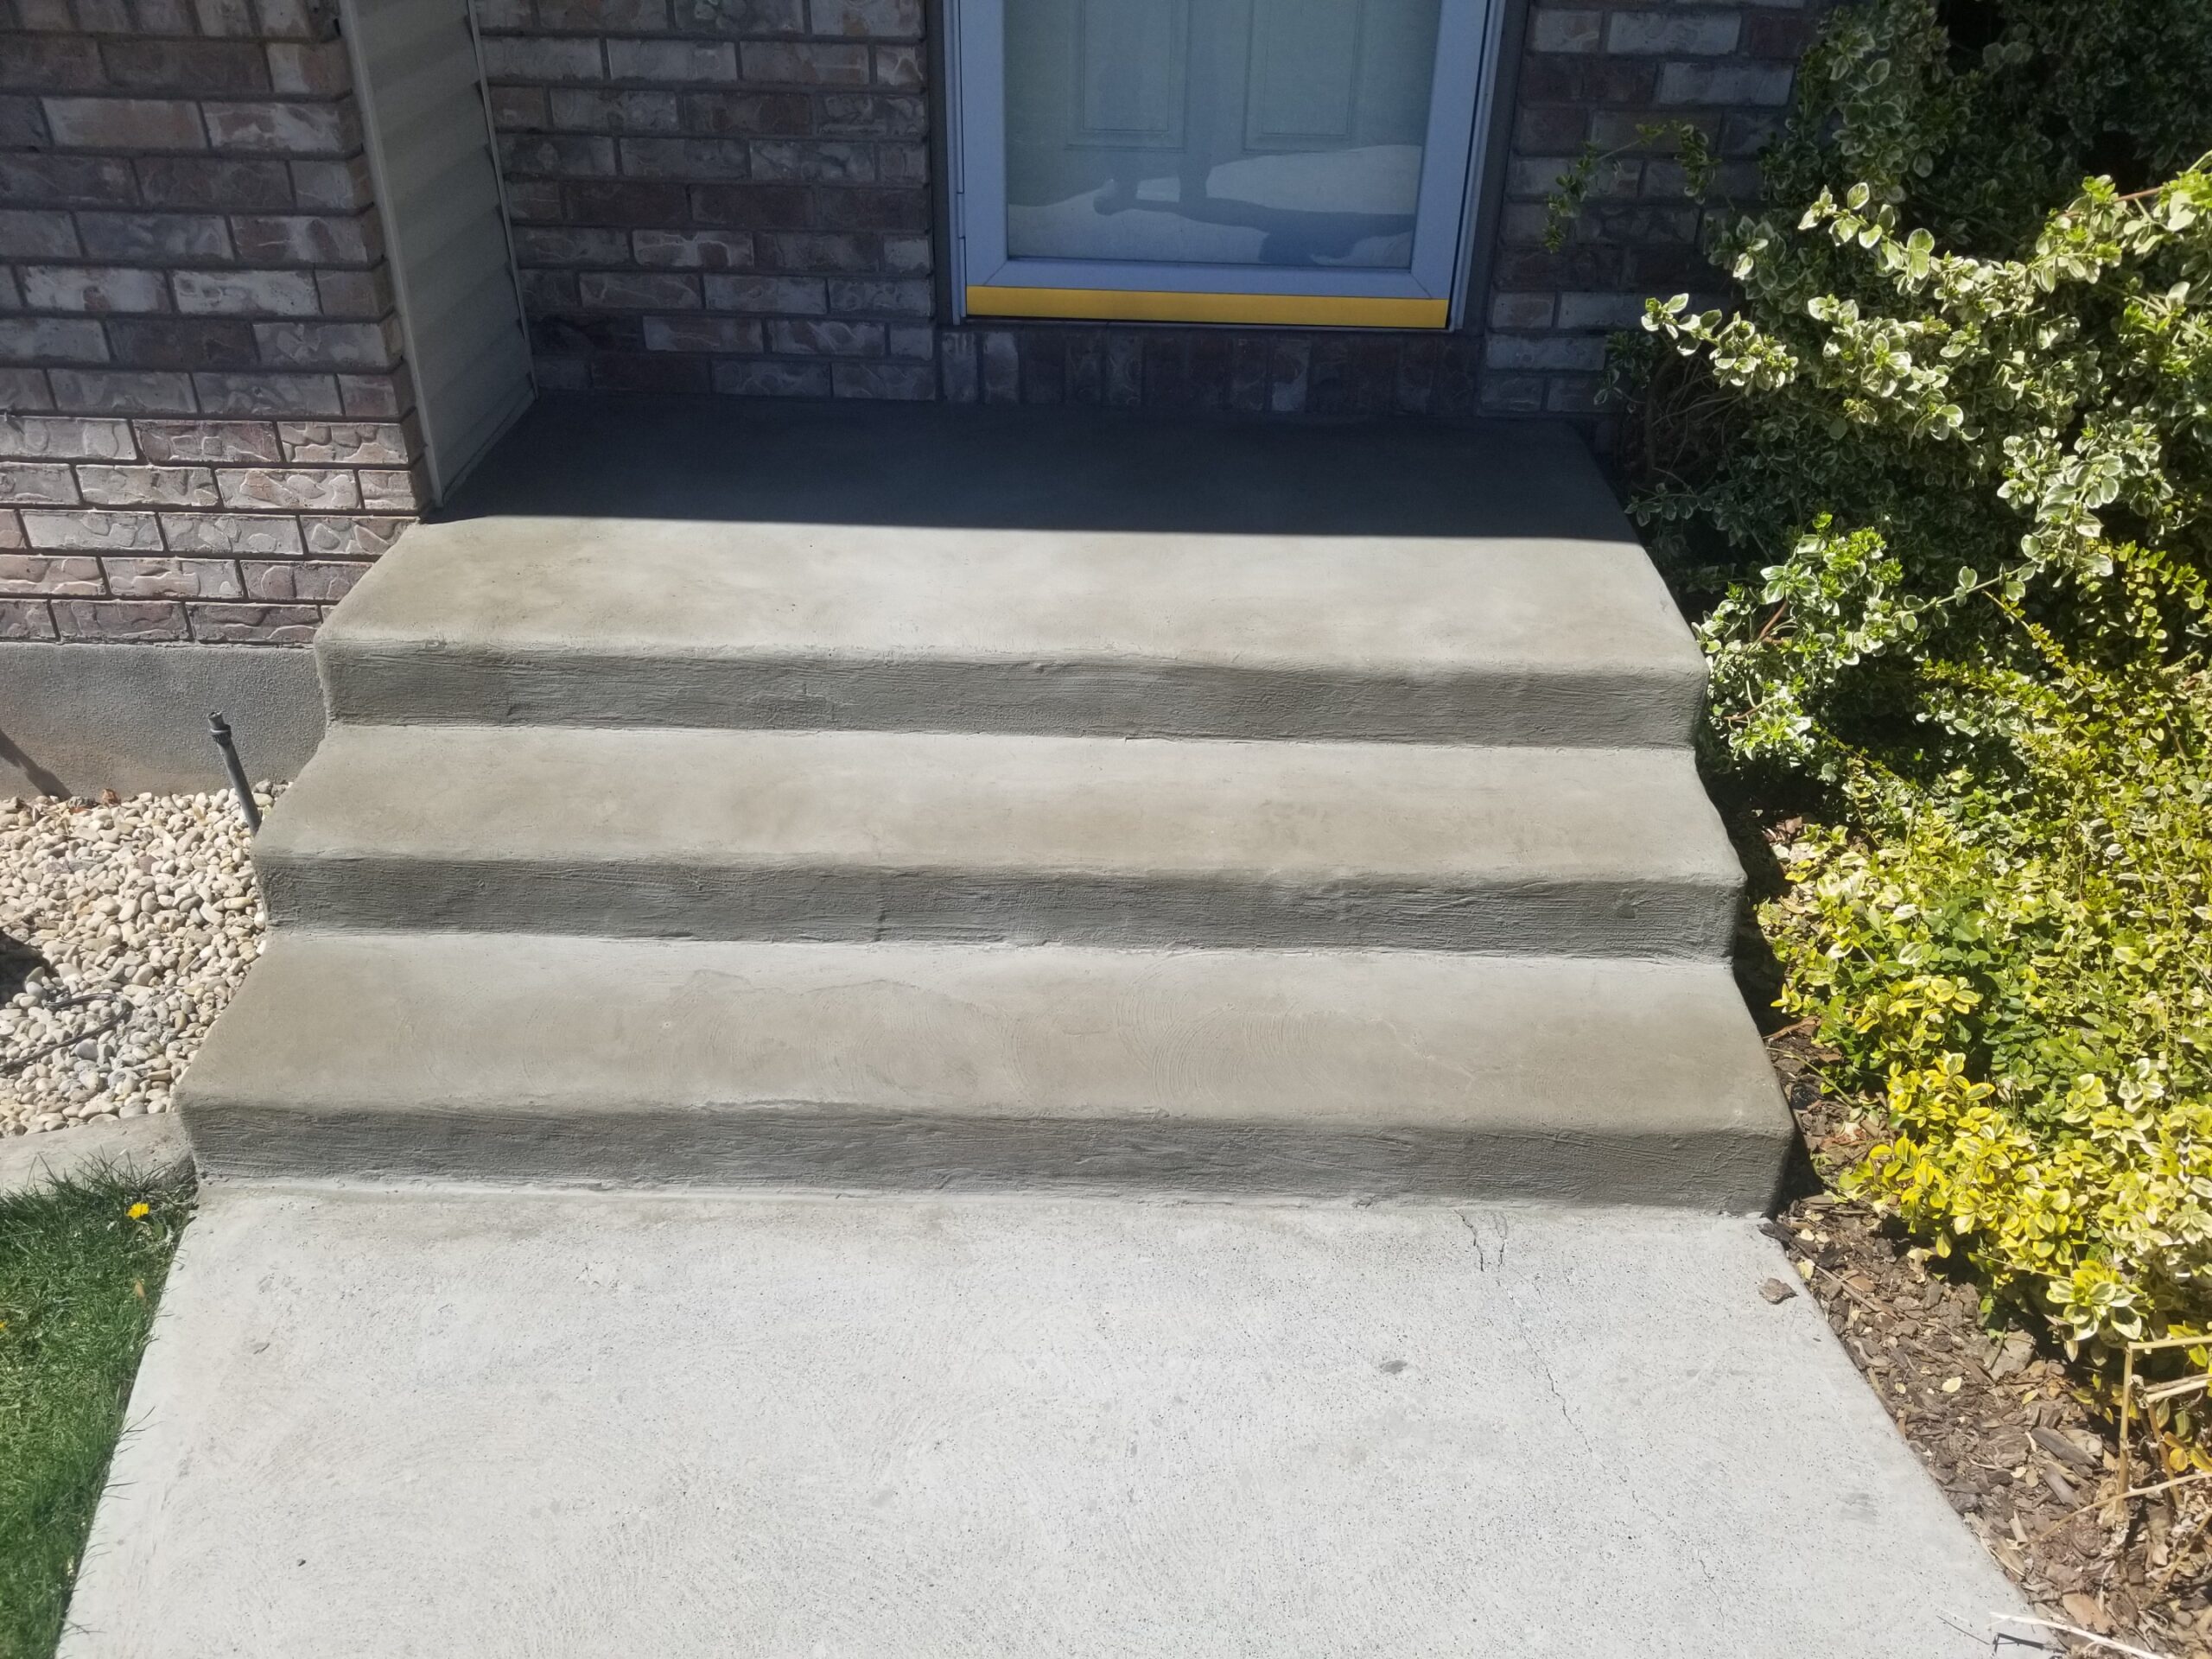
6. Slowly add cement/sand mix into mixing bucket while mixing material until desired consistency is achieved. The consistency you are going for is a thin cream texture.

7. If project requires more material and you need a full bucket or mixture is too thick, follow steps 8-10. If not skip to step 11.

8. Add one (1) 8 oz bag of the “Better Than New” additive to the half-gallon container.

9. Fill the remaining portion of the half-gallon container with water and swirl until mixed (try to avoid making bubbles).

10. Slowly add the remaining solution and cement mix into the bucket, mixing periodically as directed in step 6 until the desired consistency is achieved.

11. Bring your mix and squeegee / trowel to your work area.

12. Pour an 8 inch wide line of the mixture along one edge of your project area.

13. Using the squeegee or trowel spread the concrete evenly over the area, starting at a corner and pulling it across and down as you go. Folding it over the edge where needed and smoothing it as you go.

14. You will most likely see some small imperfections to your edges and occasional bumps or streaks in your surface. When this occurs, dip your paint brush into the solution you set aside and gently brush back and forth over the area of concern. This will dilute the concrete that does not conform to the rest of the surface and smooth out the imperfection.

17. Continue adding and spreading the cement until the entire project area has been covered to your satisfaction, the amount of materials included in the starter kit should cover approximately a 9’ x 9’ area at 1/6” thick.

18. Allow the concrete to dry for 15- minutes before removing the masking tape.

19. Allow the surface to cure for at least 4 hours.

20. If additional coats are needed to repair surface, repeat steps 3 – 19.

21. Add the 8 oz packet of sealer to your pump sprayer.

22. Add 1 gallon of water to your pump sprayer and mix the solution.

23. Spray a thin coat of the sealer evenly over the concrete. One batch of sealer will typically cover about 300 sq. feet. The sealer will look like a milky set of streaks on the surface, this is normal.

24. Let the sealer soak in and dry, when it is ready, the milky film will go away. You can add a second or third coat of sealer at this time. It is recommended that the surface is resealed once a year to maintain the look and durability of the product.

25. Once the final coat of sealer is complete, do not use the area for 12 hours and keep the area dry for 48 hours. After 12 hours the area will be ready for light traffic, after 48 hours the surface will be ready for heavier use. 

These instructions are for basic application and repair for distressed surfaces. For additional instructions for major repairs and/or custom appearance applications of this product, please contact us at our website http://www.DoctorForConcrete.com.